Installing DVR Software
(Notes: If there's another video capture device existing in your system, make sure to remove the driver
before physically removing the device)
1) After plugging the Video Capture Card(s) into PCI slot(s), turn on your computer.
2) Shortly after Windows launches, a system a dialog box with of “Found new multimedia device” will display, followed by “Video Capture Device” window.. Click "Cancel." Note: You may have to click "Cancel" several times, depending on the number of channels on the DVR Cards installed on your system.
3) Insert the eDigitalDeals CD into the CD-ROM Drive
4) After a few seconds, Windows will bring up a window asking "What do you want Windows to do?"
5) Choose "Open folder to view files." Note: You may have to scroll down using the scroll bar on the right before you see this option.
6) Double-click the folder that matches the DVR Card or DVR system that you purchased.
7) Double-click the file called "Setup," and follow the instructions below. Note: Make the EXACT SAME SELECTIONS YOU SEE IN EACH ONE OF THE GRAPHICS PICTURED BELOW.
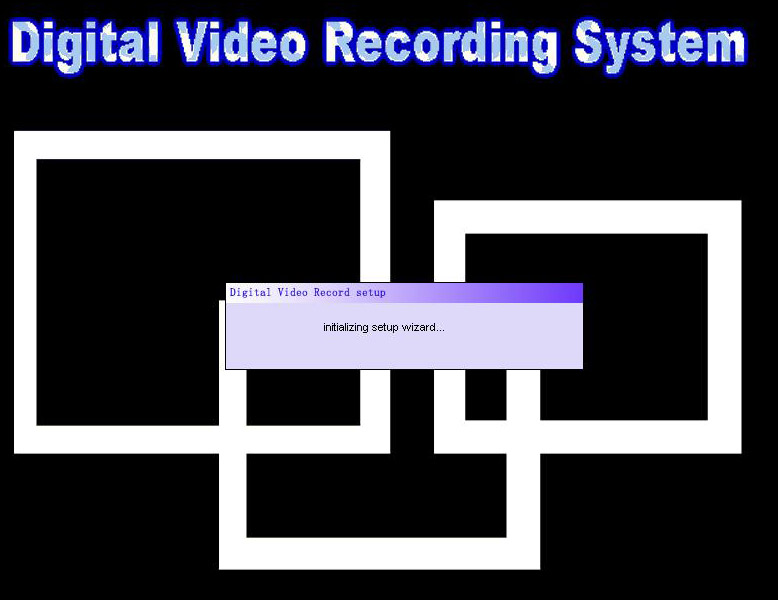
Step 1
Step 2 (Select "DVR System")
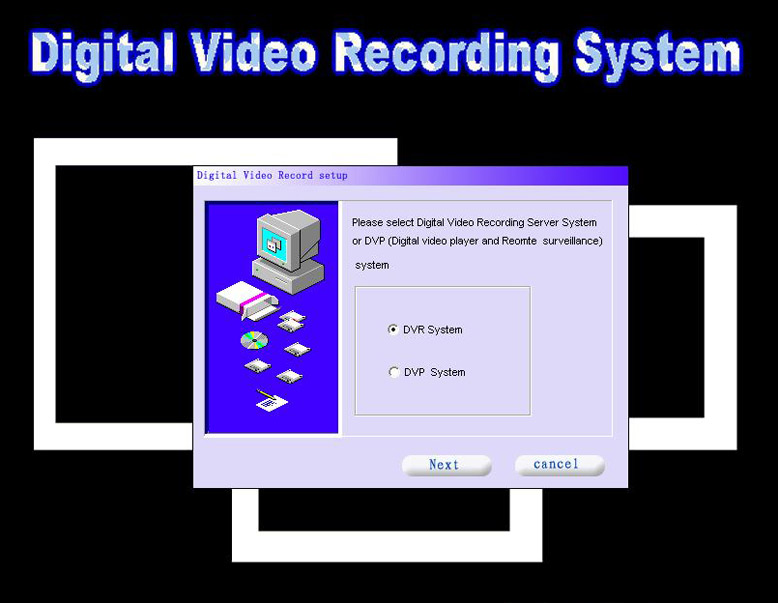
Step 3 (Click "Next")

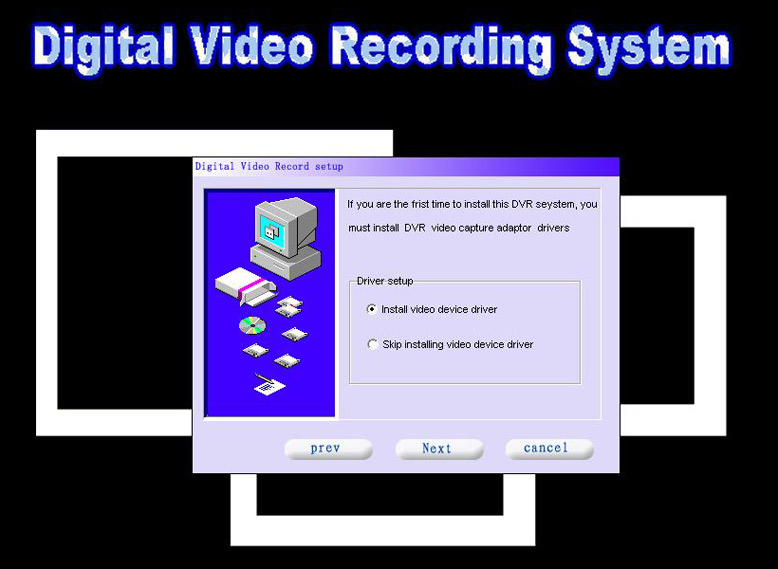
Step 4 (Select "Install video device driver")
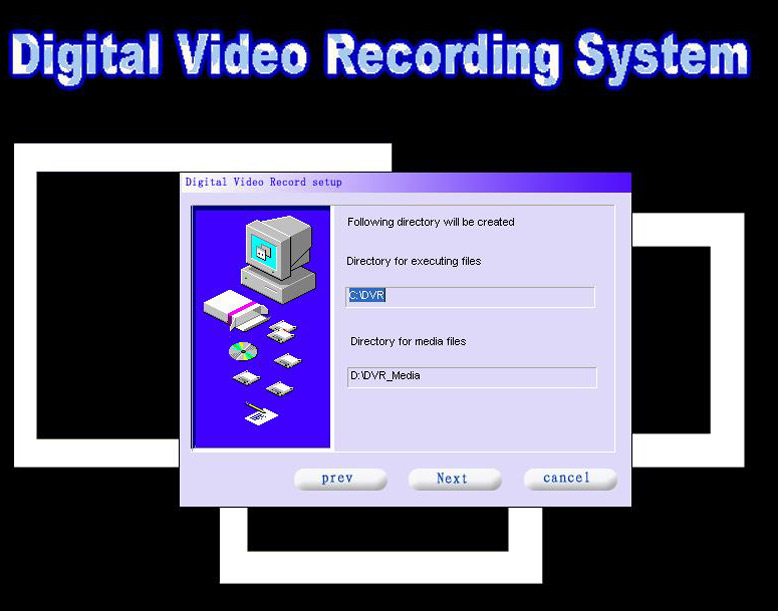
Step 5 (Just click "Next")
Step 6(Select "NTSC")

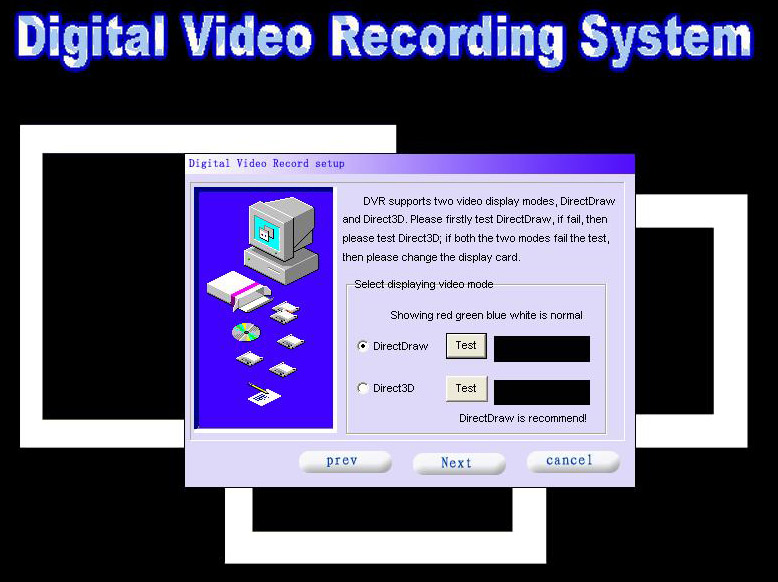
Step 7 (Select "DirectDraw")
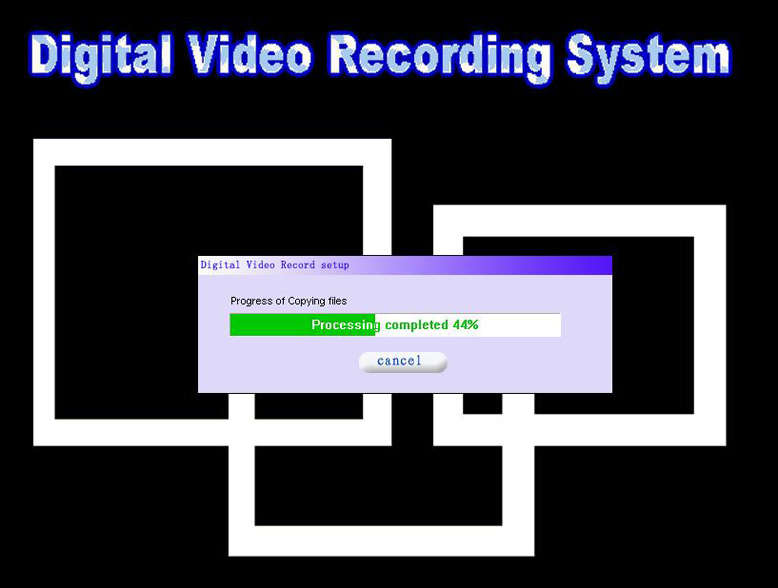
Step 8 (The installer will begin copying files . . . )
Step 9 (Click "Finish")

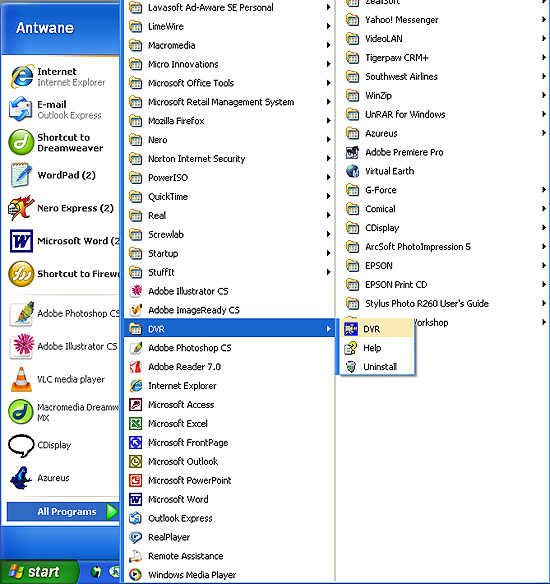
Now, you can access the DVR software by going to Start > All Programs > DVR > DVR. If you'd like to access the software from the desktop, you can right-click on the DVR icon, and select "Create Shortcut." A shortcut will be created that you can drag to the desktop for easy launching.
Now, the software can be safely launched.